

You can’t have your cake and eat it too! Says who!?
Well you at least you can bake your cake and eat it!
Have you guys watched the movie Matilda? It’s a childhood favorite and there’s one particular scene in which the mean old principal makes a boy eat the most chocolaty cake I’ve ever seen! A big one with frosting oozing from the sides! Ohhh you can’t help drooling over it but maybe under those circumstances, you’re not likely to.
Well…I recommend the movie and the recipe! 😀
Because of the following reasons:-
1) You made It. You’re going to eat it anyway!
2) Needn’t worry about what hands went into the cake at the shop (#covidparanoia)-
3) Easy ingredients (with perfectly workable substitutes)
Prep time:- 2 hours (includes baking time + half hour of doing the dishes. Even if you lick all the chocolate off them, they need a wash!)
Ingredients:
1) For the cake:
The dry stuff.
– Cocoa powder
– All purpose flour i.e. Maida
– Sugar (don’t bother powdering them. Those shiny diamonds look good as it is)
– Baking powder (I didn’t have baking soda. So an extra teaspoon of the powder works out fine)
-Pinch of salt
The non-dry stuff.
– Butter (Amul works perfectly fine. Don’t go hunting for unsalted)
– Eggs (we had to make do with the last 3 in the fridge!)
– Buttermilk
– Warm water
– Vegetable Oil
2) For the frosting:
(This was pure experimenting!)
– Butter
– Cream cheese (We didn’t have any. So used the frozen paneer made from curdled milk. Read it somewhere, took the risk)
– Milk (Didn’t have this either. Not likely to happen to you, but if it does, vanilla icecream works wonders!)
– Sugar
Oh yeah, we didn’t have vanilla essence either. Doesn’t matter. Essence of life: When your Mother-in-law gets a big bottle of essence from the US, remember to refrigerate it 😉
Notes:-
– This ‘cup’ measurement can be tricky. Just make sure you use that 1 cup as standard.
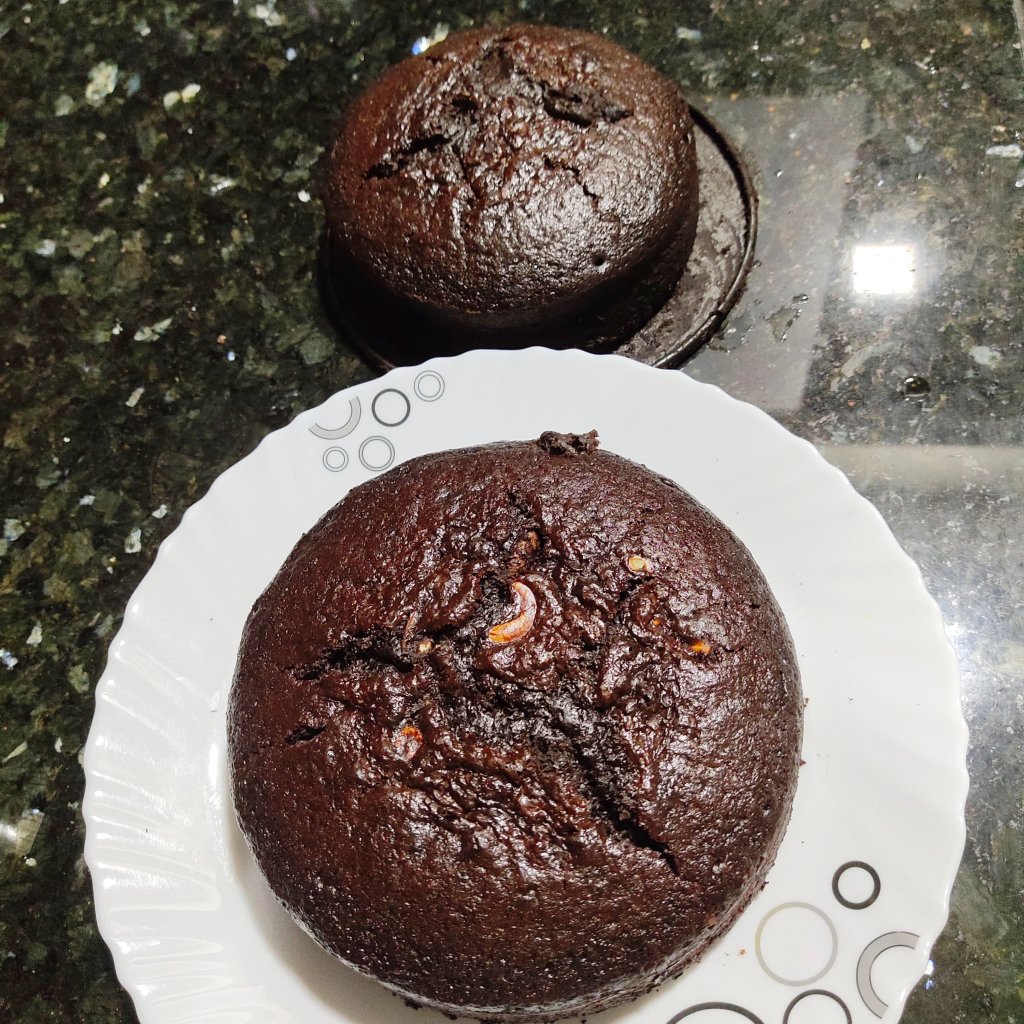
– We had no two moulds of the same shape – so decided to use two round ones, one bigger than the other.
– Depending on the number of cakes, calculate your ingredients.
– Its best you own a blender. Else you’ll end up working on those arm muscles with all that mixing!
Instructions:
Take a bowl for the dry stuff.
– Add 2 cups of flour with 2 cups of sugar.
– We used 2 cups of cocoa powder, you can do +/-
– 2 tablespoons baking powder
– the pinch of salt
– Mix it well with a spatula (To avoid washing extra vessels, start with a big one than having to do transfers!)
Beat the 3 eggs separately.
In the same bowl, add 1 cup of buttermilk with 1 cup of warm water and one-third cup of oil.
Oops!!! Hope you remembered to pre- heat your oven/ microwave. (180° for 10-15 mins)
Mix mix mix. Blend into smooth mixture.
Add the mixture to the dry bowl.
Mix until its one as a whole. Now this is going to take some effort if you don’t own that blender! Do check your muscle before-after*!
You can add walnuts/ cashews/ almonds for a nutty cake. Yes it is a cake by the nutty but that doesn’t count! 😛
Butter up those moulds.
Color okay? Sugar okay? Texture and consistency okay? Check.
Pour into the moulds and in you push them for the next 35-40 mins! Time depends, you’ll have to drive a knife into its middle to check 😀
Meanwhile, make the frosting!
Nothing fussy. Just beat all the ingredients together but make sure it does NOT get watery. Be double sure! No no, ours didn’t! Why do you assume I always talk from experience!? 😀
Refrigerate it for a while. Have patience.
That’s it!!!
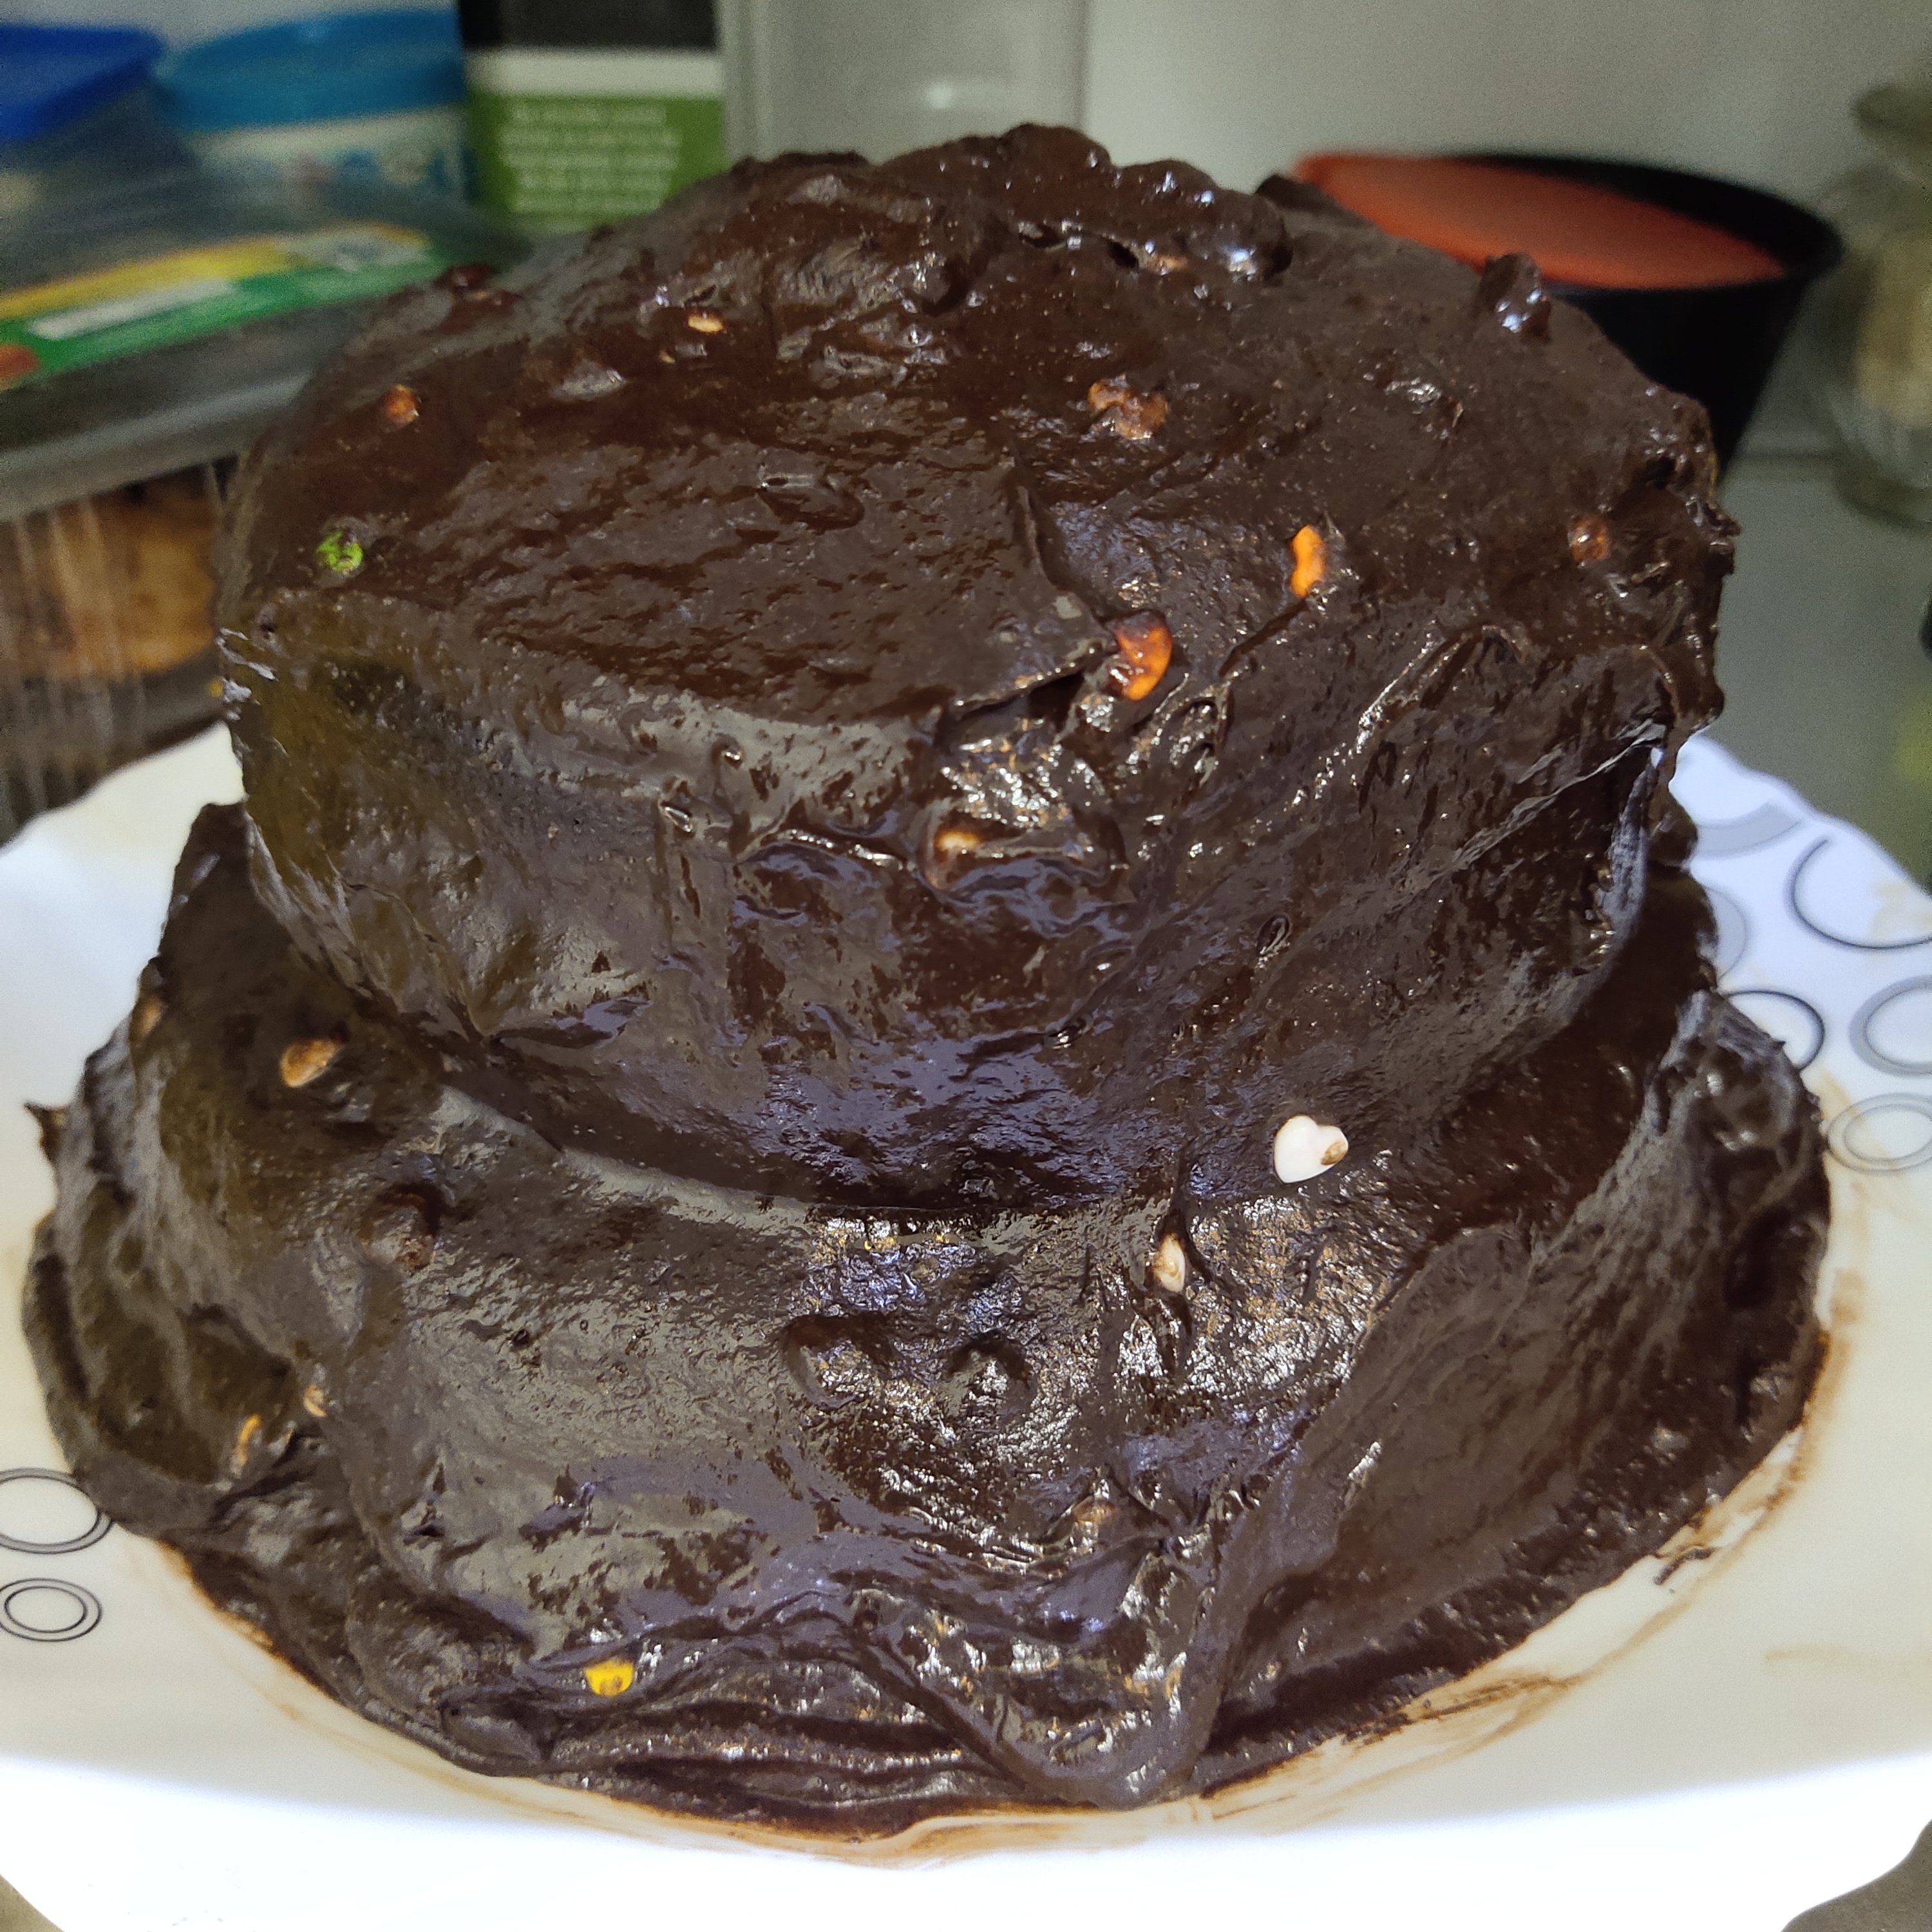
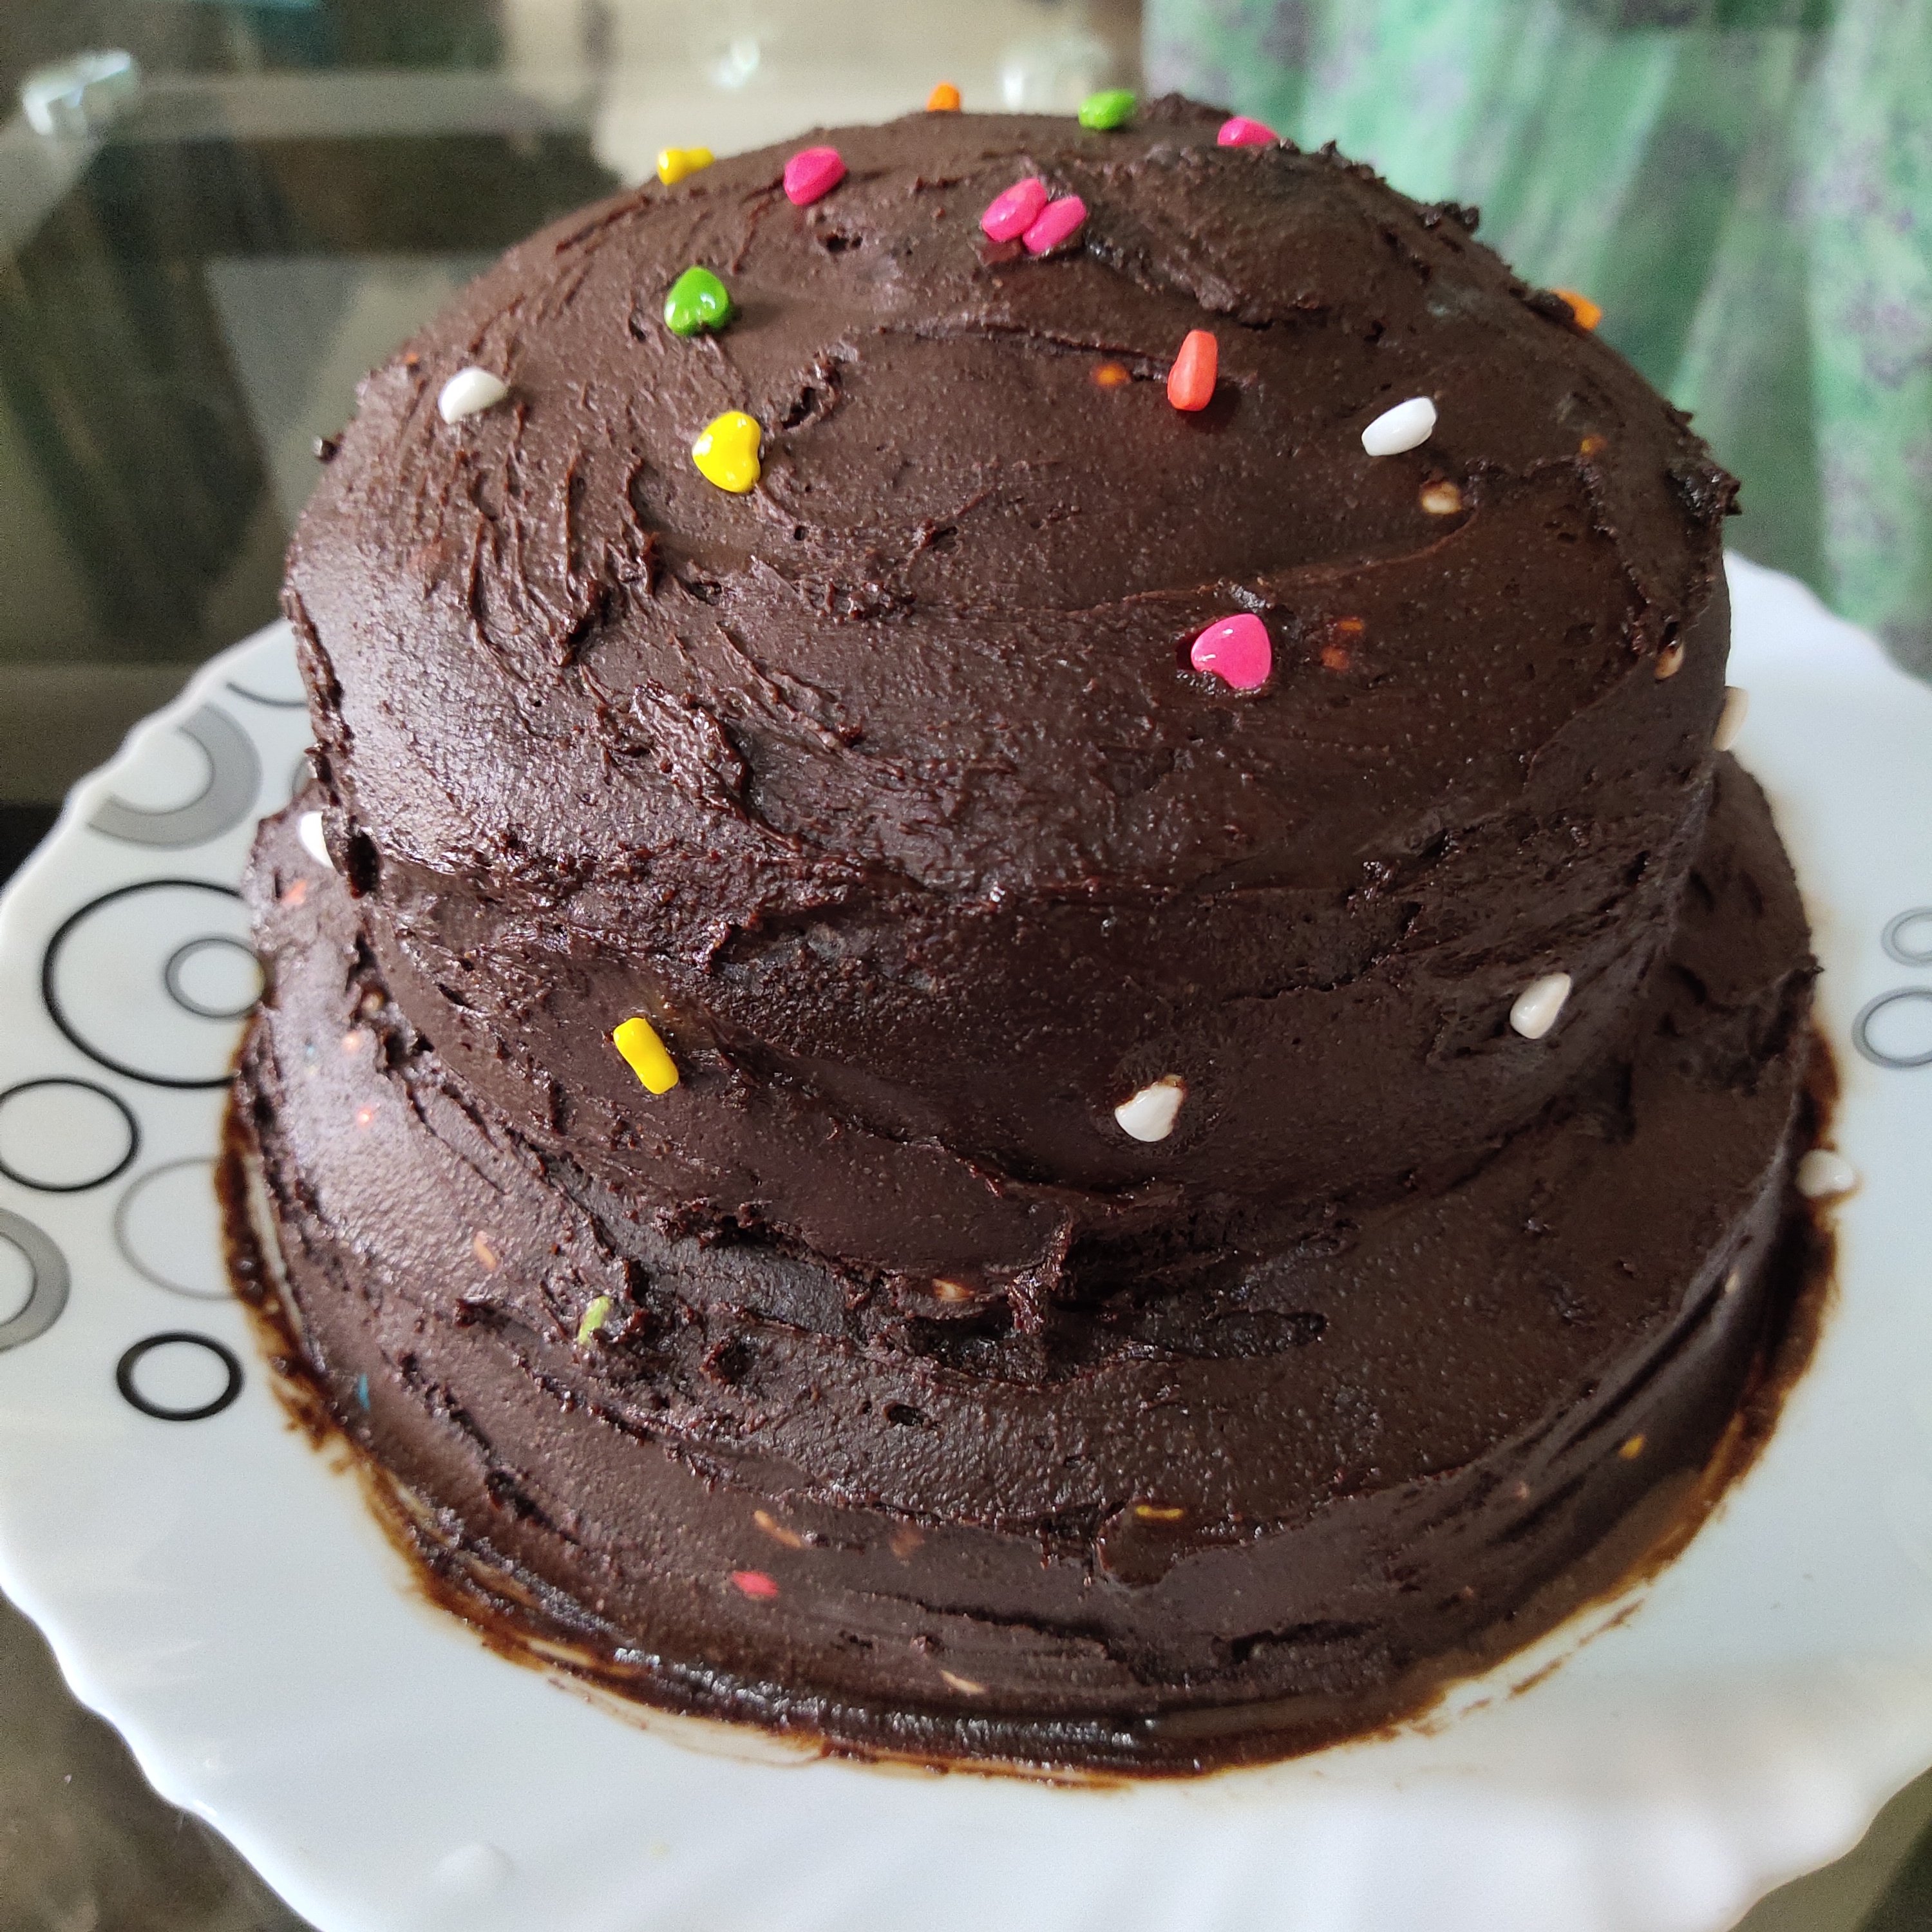
Once the cakes are baked, out and fluffy, bring them to room temp and let your creativity and generosity flow!
P.S. Somethings don’t score a 10/10 on looks but believe you me, they’ll make for it on the taste test!!!
Cheers!!!
